The Art of Creating (Good) Music: Mixing & Mastering
Everybody who produces, writes, or composes music wants it to sound good. For a lot of people, producing music on par with their favorite artist is paramount to their vision of success. But not many people understand what goes into the process of taking a song to its final form. A catchy melody, a solid arrangement, even a good singer is enough for some. But there is an entire world out there that lies beneath the surface.
The words engineer and producer have been used to describe the technicians who more often than not sit behind the curtain, making sure that the music sounds good to the general public. Terms like mixing, mastering, equalization, and compression are thrown around more than a football during the Superbowl.
In short, music production is an enormous, complex field. But one of the many good things about it is that most of the concepts are universal — they do not cater to any particular music production program and are not biased against any particular style.
Mixing
Simply put, mixing is the process of making a track sound good. Mixing typically takes place after the recording stage, though some prefer to mix while they record/write the music. Like any creative endeavor, it is an art form — every engineer will have their own battle-tested process. A favorite set of plugins to use for a specific task, for example. But while techniques may vary, the goal is always the same — turning out a good product.
Leveling
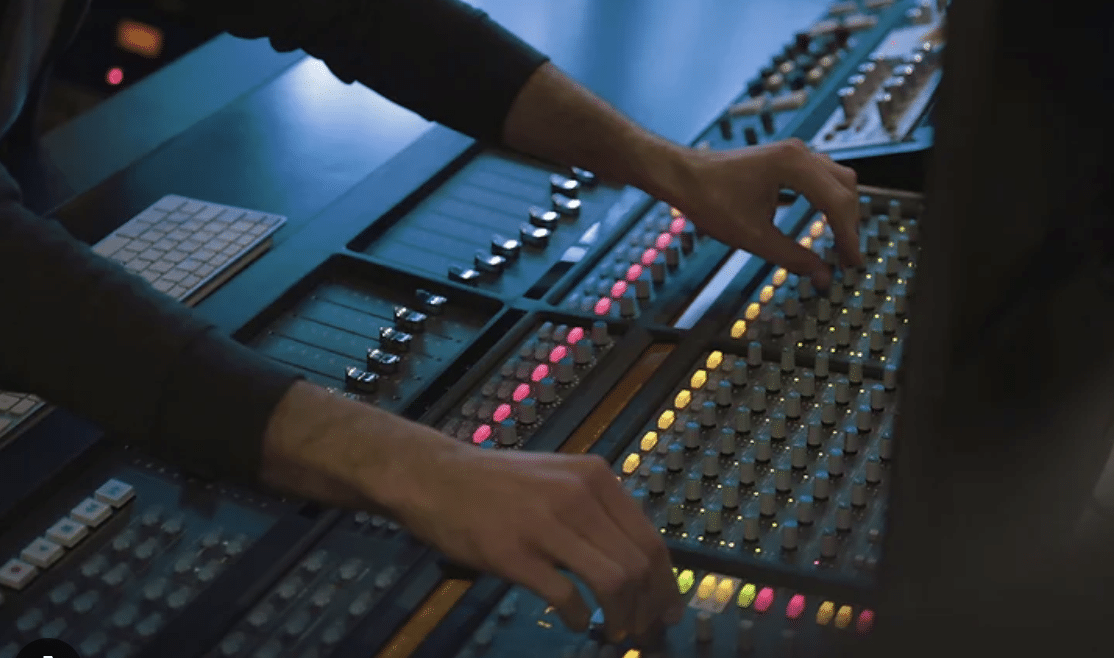
This is one of the most overlooked stages in the mixing process. When something is too quiet, the typical reaction is to turn the volume up. That’s the idea behind leveling. If you’ve ever seen one of those giant mixing boards that looks like a spaceship command console — like the digital version of a mixer below — that’s where leveling happens (among other things).
The sliders on those channels control the level output of the instrument routed to it. Most people turn to loudness tools such as compressors or limiters (discussed in depth later on) to boost a sound’s amplitude (volume), when in reality it can be as simple as raising a slider! As technology becomes more advanced, hardware mixers and synthesizers are quickly becoming obsolete in favor of the more compact and convenient capabilities a digital audio workstation, or DAW, offers. However, there are still a great many studios and engineers who continue to enjoy the hands-on feel of a physical device.
Listen to the audio demos to hear just how crucial leveling is in the mixing process. In the first demo, the cello and piano are the same volume, but in the second one, the piano’s level has been reduced, allowing the cello to be carried to the forefront.
Panning
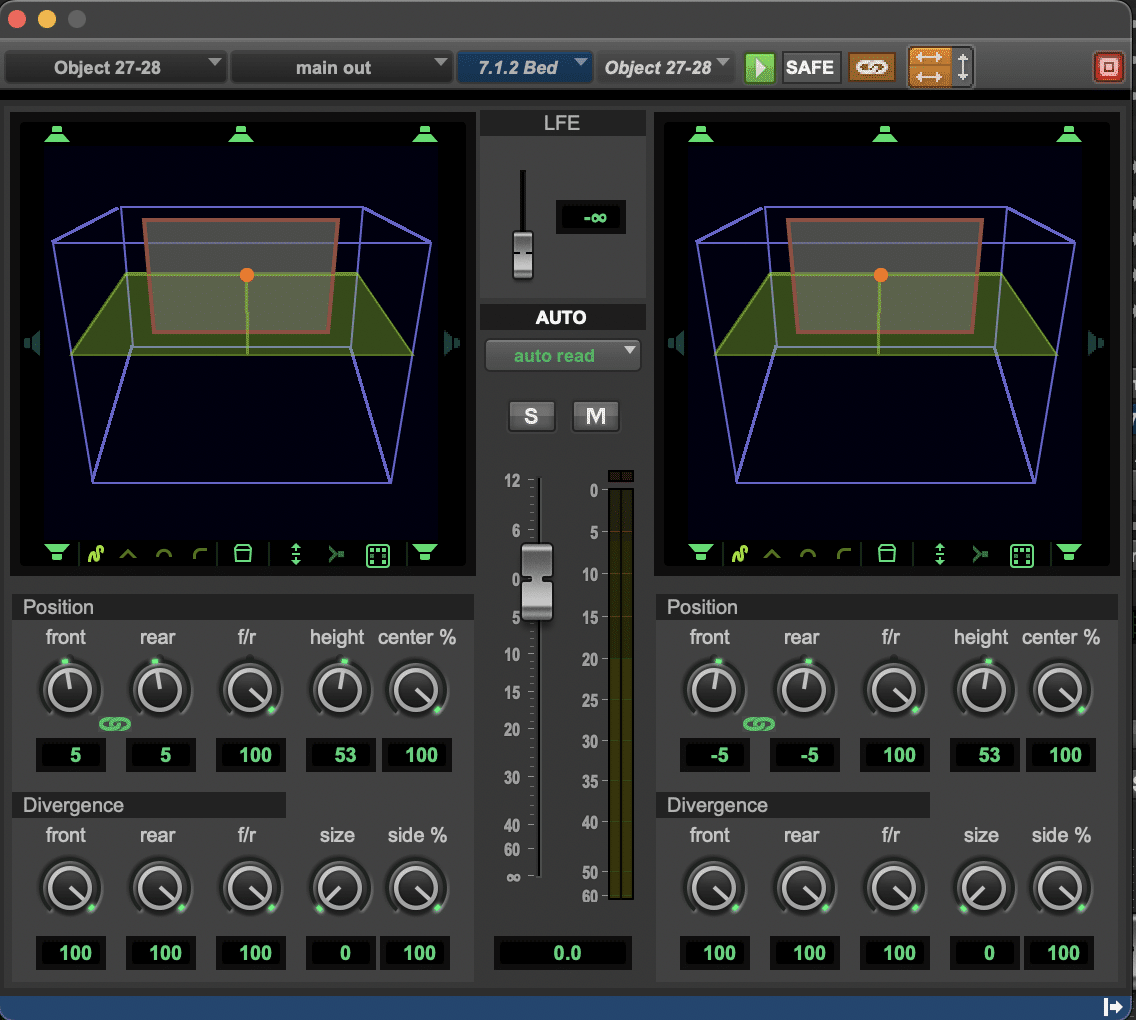
Panning is the distribution of a sound signal either left or right on the sound stage, usually in a range from 8 o’clock to 4 o’clock when positioned either fully left or right. DAWs like Pro Tools, Cubase, FL Studio, and Ableton Live have knobs or sliders which control this function. When the position is set to 12 o’clock (center stage), the instrument is heard equally through both speakers.
In electronic music, instruments such as the bass, lead vocals, and drums are always panned center in order for the audience to receive the most energy. Imagine being in a club and the bass is only coming out of one speaker on the other side of the room…talk about a buzzkill! Panning in other genres can differ greatly, as seen in the orchestra chart below.
The cello and double bass, your typical orchestra bass instruments, are panned to the right, as one would see in a live orchestra. The strings are to the left and the viola takes up much of the center.
The first example has all instruments panned center stage; in the second, we hear the piano has been pushed off to the left, making room for the cello. It may not sound like much of a change, but small tweaks like this eventually lead to a clean, polished song.
Frequency Management: Equalization
Equalization is, like leveling, all about balance. An equalizer, or EQ, is one of the primary tools used to balance instruments with one another so that each sound can be clearly heard. This is done by boosting, or attenuating, certain frequencies.
In the image above, the thickest red band indicates the most active frequency range, in this case a bass frequency of ~125Hz. By the same token, the treble range in this sample is virtually non-existent and would most likely be cut out.
Demo one shows us the cut and dry track, while an EQ on the second demo’s leading cello cuts out some of the lower bass. This cut makes space for the double bass underneath to really push through and give the leading instrument some “meat.”
Some engineers can spend hours making minute frequency adjustments that the average listener will never even notice. However, it is one of the most important aspects of mixing and proper use of an EQ can be the difference between a novice and a master.
Dimension: Delays and Reverbs
Earlier, we talked about leveling and panning and how they add space to a mix. Delays and reverbs add depth. They put the instruments in an environment and indicate to the listener whether they’re in a broom closet or a cathedral.
Reverberation, heard in nature, is multiple blended sounds created from reflections. Playing a bass guitar in a school gym and hearing the reflections as the sound bounces off the walls is a perfect example of reverberation. All of those reflections start to create an entirely new sound which is more dynamically and sonically interesting.
Delay, on the other hand, is the echo of what you’re playing. If you stand in a stone church and yell, “Hello” (please don’t actually try this!), the first sound you hear reflected off of the walls is an echo. This sound quickly turns into reverb as more and more reflections bounce off of the walls.
Demo one is the leading cello soloed with no reverb or delay. In demo two, we add a generous amount of reverberation, giving the cellist some space to play and also creating a nice atmosphere for the melody.
Reverb is commonly used on vocals because of its ability to fill out the frequency range. When using DAW’s, however, delay is the preferred method of adding depth because it not only takes less CPU power, but also sounds better than reverb to some engineers.
Dynamics: Compression
Last but not least, dynamics. One of the most disputed practices in mixing and music in general. Compressors — as the name suggests — reduce a sound’s amplitude or bring up the quieter portions through a process called…well, compression.
Before compression, the dynamics of the strings in the first demo are easily heard. You can hear the player really getting into the mood of the music. In the second demo, the strings are compressed — crushed against the ceiling, if you will. Everything is at a fixed volume and there are few to no dynamics left in the track.
Here is an example of a typical, over-compressed track. Songs like these are so famous that their waveforms have been given the nickname “the sausage” in reference to the nonexistent dynamic range.
Compression usage has varied throughout the decades, but in today’s society, where higher volumes are equated with better quality, compression is a necessity. If you want to read more about this topic, check out the loudness wars.
Mastering
Like mixing, mastering is its own process. Most people believe mastering makes a track louder, punchier, and better sounding. If that were the only thing a mastering engineer did, this explanation would be pretty short! Let’s take a look at what it really is.
Today’s mastering engineers are responsible for sequencing the track order of an EP or album, applying post-production to the material, controlling overall volume, adding appropriate metadata, and creating the master that the CD pressing facility will use.
Sequencing
Sequencing is basically taking the tracks and ordering them in the way the producer/musician wants. This doesn’t just involve slapping them together one after another, but creating a cohesive, fluid composition for the album. For example, slower songs typically merit a longer period of silence after their completion before the transition into the next song.
Post Processing Stage 1: Restoration
Hissing, distortion, clicks, and pops are the bane of audio production and the mark of a mix that might need redoing. A mastering engineer has a few tools that can be used to fix or at least alleviate these issues.
Hissing can be removed by using a denoiser or dehisser, which uses a sample of the audio to remove the hisses from the entire track.
For distortion or clipping (that static, painful sound when you turn the volume up too high), a declipper will reduce the amplitude of the whole track or selected region in an attempt to minimize or eliminate the distortion.
Clicks and pops require a little more finesse. Sometimes the engineer will have to load the track into their DAW and adjust the volume levels manually in certain parts of the track to eradicate these problems.
It should be noted that many of these issues can be avoided through careful recording and proper mixing.
Post Processing Stage 2: Loudness
Loudness is a different form of compression. While compressors are used to make things louder, they also have a downside. The louder you get, the more in danger you are of creating a “pumping” effect to the music. Some people like it, others don’t.
Limiters, on the other hand, are a form of compression that allows pushing the level of the music almost as loud as desired without the danger of destroying the track. Limiting, while typically used in the mastering stage, is also usable during the mixing stage. Modern dubstep artists are fans of using limiters to achieve a harsh, driving sound.
A final note
Just as it took many of the Renaissance artists a lifetime to master their craft and produce some of their greatest pieces, the same may be said of music production.
A good mix and master can make even the worst arrangement sound acceptable, but they are not a panacea for sloppy music production and will be trumped every time by high quality technical and creative effort. Theory, composition, arrangement, and depth are some of the key components that make a song truly memorable. Starting with the best possible versions of those elements will make the mixing and mastering process a lot smoother and turn out a truly epic result.


